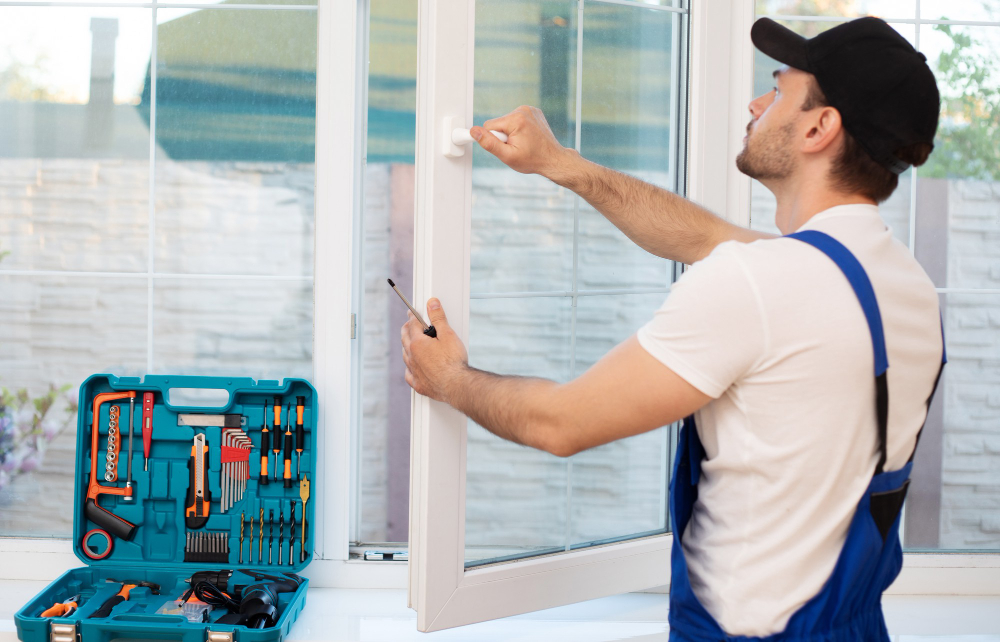
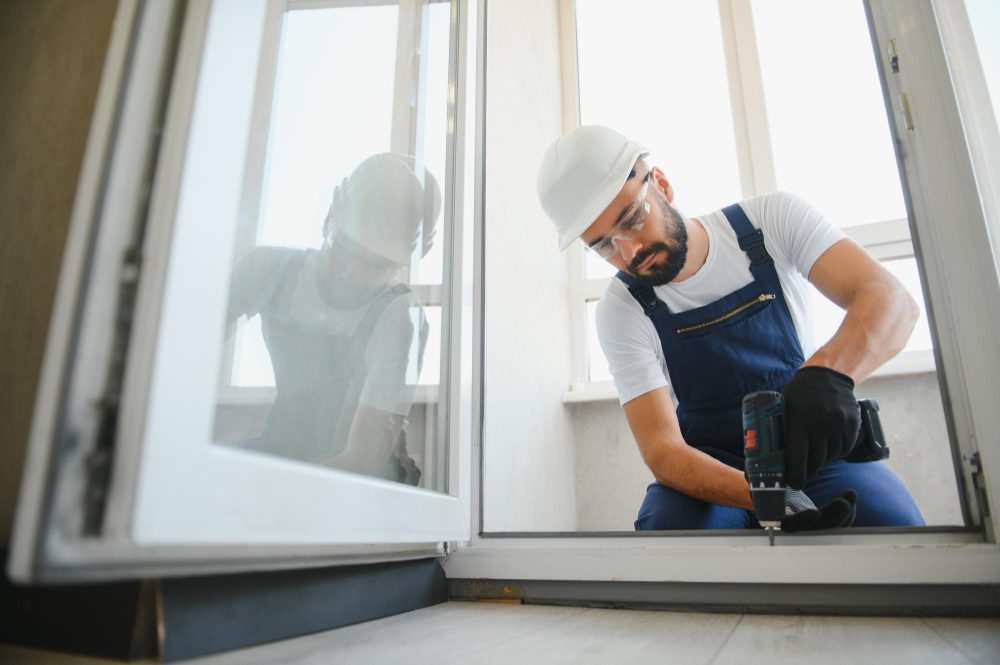
When it comes to home improvement, replacement windows are one of those projects that look simple—until they’re not. Whether your old windows are leaking air, showing signs of rot, or just plain outdated, getting it right isn’t just about aesthetics. It’s about energy efficiency, structural integrity, and long-term performance.
Done wrong? You’re looking at moisture damage, sky-high utility bills, and frustrating repairs.
Done right? You boost comfort, property value, and energy savings for years.
So, in the spirit of Mike Holmes—“Make it right”—here’s an authoritative, step-by-step guide to replacing your windows the proper way.
✅ Step 1: Assess Whether You Really Need Replacement Windows
Before calling in a contractor or heading to the showroom, take stock of what you’re working with.
Signs it’s time to replace:
Drafts around the frame (especially in winter)
Difficulty opening or closing windows
Rot, mold, or water damage on sills
Condensation between glass panes
Increasing energy bills
🛠️ Mike would say: “If your windows are failing at the basic job of keeping the weather out, it’s not a cosmetic issue—it’s a performance failure.”
✅ Step 2: Choose the Right Type of Replacement Window
There are two main types:
1. Full-frame replacement
Removes the entire window—including frame and trim. Ideal if:
The existing frame is rotted or warped
You want a completely new size or shape
You’re doing major renovations
2. Insert or pocket replacement
Fits new window units into existing frames. Best if:
Frames are in good condition
You want to minimize disruption
You’re looking for a faster, less costly install
📐 Pro Tip: Have a professional assess the frame before assuming an insert will work. Hidden damage isn’t always visible.


✅ Step 3: Select Energy-Efficient Materials
Not all windows are created equal. Focus on materials and features that protect your home and your wallet.
Material options:
Vinyl – Low maintenance, cost-effective
Fiberglass – Stronger, energy-efficient, longer lifespan
Wood – Classic look, higher maintenance
Aluminum – Durable, but less insulating
Look for:
ENERGY STAR® certification
Low-E (low-emissivity) coatings – Reflect heat, reduce UV
Double or triple glazing – Better insulation
Gas fills – Argon or krypton between panes boosts efficiency
🔎 Mike would add: “Make sure the window suits your climate zone. What works in Sacramento won’t necessarily work in the Rockies.”
✅ Step 4: Vet Your Installer Carefully
You can buy the best window on the market—but if it’s installed poorly, you’ve wasted your money.
Look for:
Licensed, insured professionals
Verified references and reviews
Experience with the window type you’ve chosen
Transparent quotes and timelines
Ask about:
Caulking techniques
Flashing and sealing methods
Warranty on labor and installation
⚠️ “Poor installation is the #1 cause of window failure. And you won’t know it until you see water stains months later.”
✅ Step 5: Prepare Your Home for Installation
Whether it’s one window or a whole house, make sure your home is ready.
Before install day:
Clear furniture and decor near the work area
Remove window treatments
Disable security sensors on windows
Cover floors and nearby furniture with drop cloths
Have pets and kids safely out of the way
🧹 Pro Tip: Good installers will clean up after themselves, but it’s always smart to prep your space beforehand.
✅ Step 6: Post-Install Check & Maintenance
After installation, do a walkthrough with your contractor.
Checklist:
Open and close each window to ensure smooth operation
Check for drafts around the frame
Inspect caulking and trim work
Confirm all hardware is secured
Request documentation for warranties
Ongoing care:
Clean tracks and sashes regularly
Reseal or repaint wood frames annually
Watch for signs of condensation or wear
🧰 “Maintenance starts on day one. Protect your investment with a seasonal inspection—every year.”
Final Word: Don’t Just Replace—Upgrade
Window replacement isn’t a flashy remodel, but it’s one of the smartest upgrades you can make. Done right, you’ll notice:
Quieter rooms
Lower energy bills
Less moisture buildup
A more comfortable, beautiful home
So don’t cut corners. Choose quality, hire smart, and get it done right the first time.
Your home—and your future self—will thank you.

