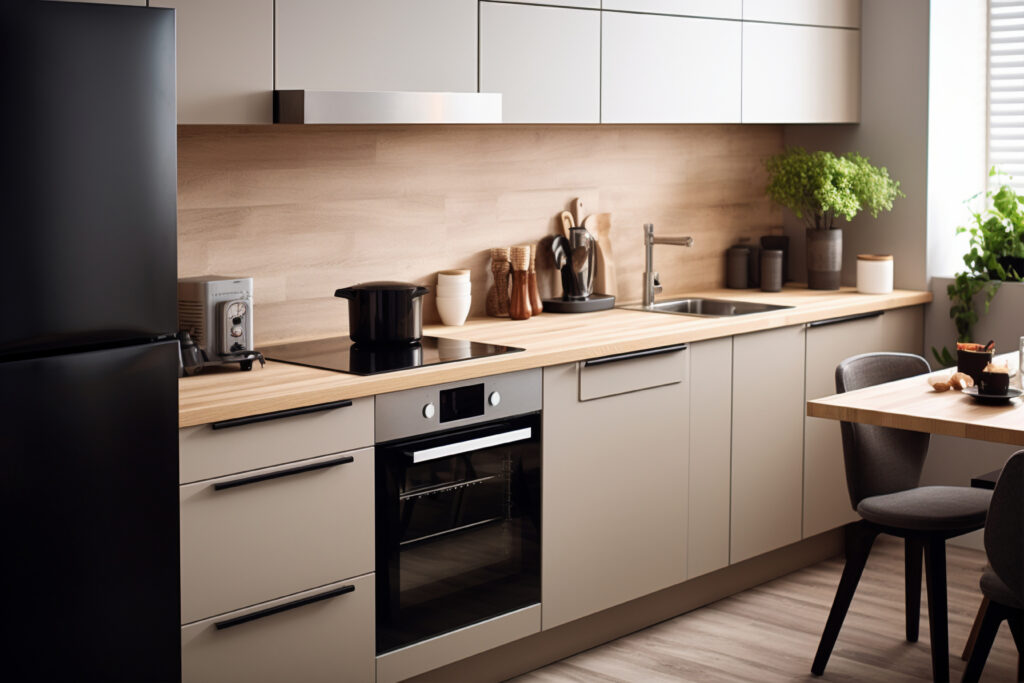
Are your kitchen cabinets looking a little tired but you’re not ready for a full remodel? Kitchen cabinet refacing could be the perfect solution! This cost-effective way to refresh your kitchen can give your space a brand-new look without the hassle of a complete renovation. In this step-by-step guide, we’ll walk you through the process of refacing your cabinets, so you can enjoy a beautiful kitchen that feels fresh and inviting.
Step 1: Assess Your Cabinets
Before diving in, take a good look at your existing cabinets. Are they structurally sound? If the cabinets themselves are in good shape but the finishes are worn or outdated, you’re ready to proceed with refacing. If there’s significant damage, consider whether it’s worth repairing or replacing.
Step 2: Choose Your Materials
When it comes to refacing, the materials you choose are crucial. Options include:
- Veneers: Thin slices of wood that are applied to the cabinet surface.
- Laminates: Durable and easy to clean, laminates come in various colors and patterns.
Make sure to select materials that will complement your kitchen’s overall aesthetic.
Step 3: Select Colors and Finishes
Color and finish play a significant role in how your cabinets will look. Do you prefer a classic white, a bold color, or perhaps a wood stain that highlights the natural grain? Consider how these choices will coordinate with your countertops, backsplash, and flooring for a cohesive design.


Step 4: Remove Hardware and Doors
Once you’ve gathered your materials and made your color selections, it’s time to get to work. Start by removing all cabinet doors and hardware. Use a screwdriver to take off knobs, handles, and hinges. Label the hardware and keep it organized, so you can easily reinstall it later.
Step 5: Prepare the Surfaces
Proper surface preparation is essential for a successful refacing job. Clean the cabinet surfaces thoroughly to remove any grease, dirt, or grime. If your cabinets are painted, lightly sand the surfaces to ensure a good bond with the new material.
Step 6: Apply Veneers or Laminates
Now for the fun part! Carefully measure and cut your veneers or laminates to fit the cabinet surfaces. Use a strong adhesive to secure the materials, pressing firmly to eliminate any air bubbles. Follow the manufacturer’s instructions for best results. Make sure to allow adequate drying time.
Step 7: Reinstall Doors and Hardware
Once the new materials have set, it’s time to reinstall the cabinet doors and hardware. Align each door carefully and secure the hinges. Attach the knobs and handles, ensuring they are aligned correctly for a polished look.
Step 8: Final Touches
After everything is back in place, step back and admire your handiwork! To complete the transformation, consider adding some finishing touches such as new decorative hardware or under-cabinet lighting. These small details can elevate the overall look of your kitchen.
Conclusion
Refacing cabinets is an excellent way to breathe new life into your kitchen without breaking the bank. With this step-by-step guide, you’ll be well on your way to enjoying a stunning kitchen that feels brand new. If you’re considering cabinet refacing near you, don’t hesitate to reach out for professional help or advice. Ready to get started? Contact us today and let’s transform your kitchen together!

