When it comes to kitchen renovations, one of the simplest yet most impactful changes you can make is installing a new backsplash. Not only does a backsplash protect your walls from splashes and stains, but it also adds a personal touch to the heart of your home. Whether you’re updating a tired kitchen or creating a whole new look, backsplash installation can instantly elevate the space.
In this article, we’ll walk you through the process of backsplash installation, the materials to consider, and how the right backsplash can transform your kitchen.
The Importance of a Kitchen Backsplash
A backsplash does more than just protect your walls. It serves as a design element that can tie together the entire look of your kitchen. From the countertop to the cabinetry, the backsplash is the visual link that can complement your style and add personality to the space. It also provides practical benefits, including:
- Protection: A backsplash shields the walls from cooking splashes, food stains, and grease, which are common in kitchens.
- Easy to Clean: Unlike painted walls, which can absorb stains and require frequent touch-ups, a backsplash is easy to wipe down, keeping your kitchen looking clean.
- Design Enhancement: With endless materials, colors, and patterns to choose from, a backsplash is an opportunity to showcase your design style, whether it’s bold and modern or understated and classic.
Types of Backsplashes
The first step in backsplash installation is choosing the right material. There are a variety of options available, each offering its own benefits. Here are a few popular materials to consider:
1. Tile Backsplashes:
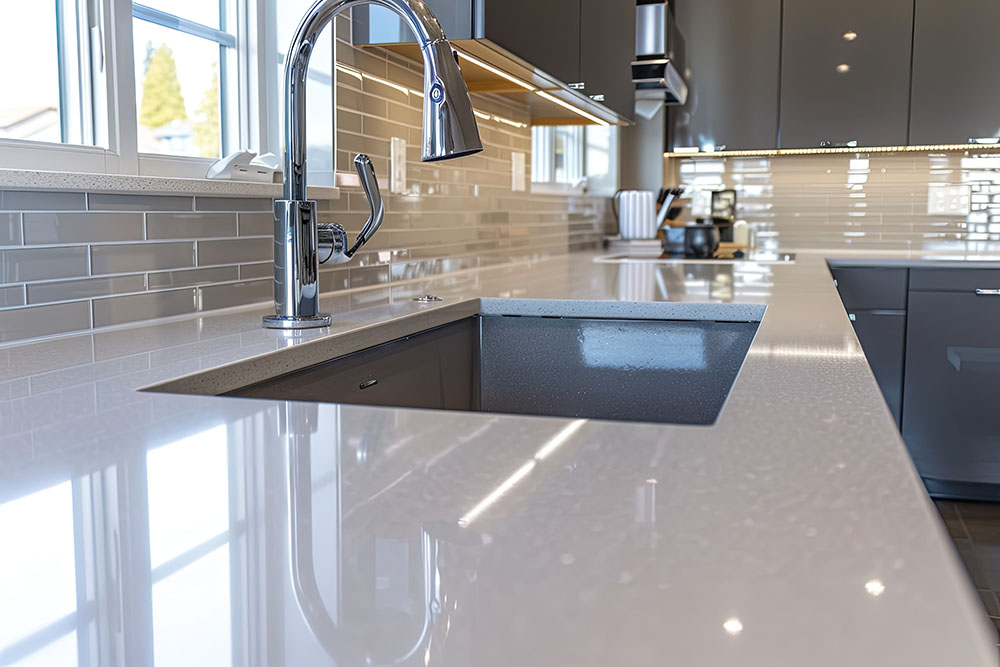
Tile is by far the most common and versatile option for backsplash installation. From classic ceramic to more contemporary porcelain, tile is available in countless shapes, sizes, and colors. Subway tiles are a timeless choice, but mosaic and patterned tiles are gaining popularity for those looking for something more unique.
- Pros: Tiles are highly customizable, durable, and easy to clean. They come in various finishes, from matte to glossy.
- Cons: Grout lines can stain over time, though modern grout sealants can help protect the surface.
2. Glass Backsplashes:
Glass is a sleek and modern choice for a backsplash. Available in solid panels or mosaic tiles, glass backsplashes are perfect for contemporary kitchens. The reflective surface can brighten up a space, especially in smaller kitchens with limited natural light.
- Pros: Glass is non-porous and easy to clean. It also provides a smooth, shiny finish that complements modern designs.
- Cons: Glass can be more fragile than other materials, and cracks can be noticeable if not properly installed.
3. Natural Stone Backsplashes (Granite, Marble, etc.):
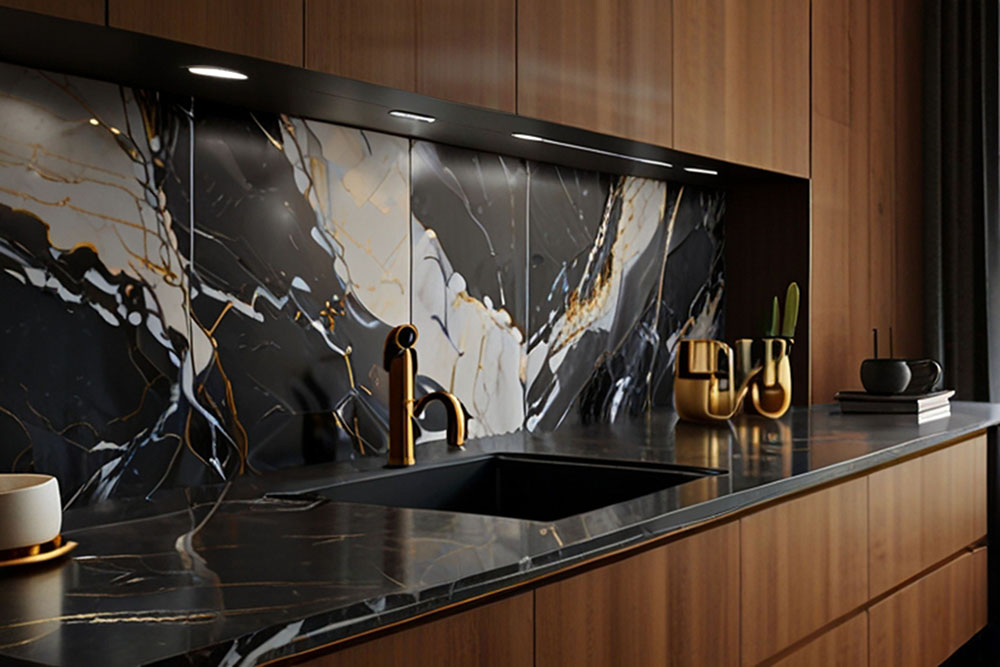
Natural stone backsplashes offer a luxurious and timeless look. Granite, marble, and slate are popular options that bring a sense of sophistication to any kitchen. The natural variations in color and texture make each backsplash unique.
- Pros: Durable, heat-resistant, and elegant. Stone backsplashes are long-lasting and increase the value of your home.
- Cons: Stone can be expensive and requires sealing to prevent stains.
4. Metal Backsplashes:
For a modern and industrial feel, metal backsplashes such as stainless steel, copper, or aluminum are excellent choices. Metal backsplashes are highly durable and can be a great option for kitchens with a modern, minimalist design.
- Pros: Easy to clean, resistant to heat, and has a sleek, contemporary appearance.
- Cons: Can show fingerprints and scratches over time, requiring more maintenance.
5. Peel-and-Stick Backsplashes:
For those who want a budget-friendly, quick, and easy option, peel-and-stick backsplash tiles are a great choice. Available in a variety of materials like vinyl, glass, and metal, these tiles are simple to install and can be a DIY project.
- Pros: Easy to install, inexpensive, and available in a range of colors and patterns.
- Cons: Not as durable or long-lasting as traditional tile or stone.


The Backsplash Installation Process
Installing a backsplash may seem like a daunting task, but with the right tools and preparation, it can be a straightforward DIY project or a job for a professional. Here’s a step-by-step guide to the backsplash installation process:
1. Preparation:
Before you begin, clear the area where you’ll be installing the backsplash. Remove any existing backsplash, clean the wall, and ensure it’s smooth and dry. If necessary, use a primer to create a solid foundation for the backsplash.
2. Measuring and Planning:
Measure the area where the backsplash will go, and mark the center of the space. This ensures that your backsplash is evenly spaced and symmetrical. If you’re working with tile, plan out your layout and dry-fit the tiles before securing them.
3. Applying Adhesive:
Apply adhesive to the wall using a notched trowel. If you’re using peel-and-stick tiles, simply peel off the backing and press the tiles into place. For other materials, like tile or stone, you’ll need to use a specialized adhesive.
4. Installing the Backsplash:
Begin installing the tiles or panels, starting at the bottom center of the wall and working your way outward. Be sure to leave space for grout between tiles, unless you’re using a material that doesn’t require grouting (such as glass panels).
5. Cutting Tiles:
If necessary, use a tile cutter to trim tiles to fit around corners or outlets. Always wear protective eyewear when cutting tiles to avoid injury.
6. Grouting and Sealing:
Once the tiles are installed, allow the adhesive to dry for the recommended time. Then, apply grout between the tiles using a rubber float, pressing it into the gaps. Wipe away excess grout with a damp sponge. For stone or tile backsplashes, seal the grout lines to prevent staining.
7. Finishing Touches:
Once the grout has set, apply any final finishing touches, such as adding trim or caulking around the edges to give your backsplash a clean, polished look.
Conclusion: Make Your Kitchen Shine with a New Backsplash
Backsplash installation is an easy way to transform your kitchen, offering both protection and style. With so many materials and design options available, you’re sure to find the perfect backsplash to complement your kitchen’s unique style. Whether you choose classic tile, sleek glass, or luxurious stone, the right backsplash can be the finishing touch that makes your kitchen shine.
